Vanilla Overdrive 60

Vanilla Overdrive 60
Originally it was planned to discontinue the Vanilla Overdrive and a large part of the LoV projects, because the interest in these kits was decreasing more and more due to the LoW projects. At the same time, it became more and more difficult to get the needed parts, like AC/AC power supplies.
However, with the beginning of the Corona pandemic, the interest in these projects increased significantly, so we reconsidered our plan and looked for solutions to continue offering the LoV projects in the future. Ideally, the shortcomings of the 12V versions should also be eliminated.
To make this possible, we decided to use the VPump to generate the supply voltage and also raise it to 60 volts. On the one hand, this allows for higher efficiency, higher levels and thus more flexibility for the circuits. On the other hand, the problem of AC/AC power supply availability could be solved, since the VPump is operated with a standard 12 volt DC power supply (plug).
How To Use the VO60
The VO60 should be used either between guitar and amp like a stomp-box, or in the effects loop and is primarily intended for use with low-gain amps. The VO60 is not designed to make high-gain amps more high-gain, which won't work well with other overdrive pedals too. The VO60 is also not a full amp that you can plug into a speaker or DI box. You need at least a small power amp for that.
The circuit
The basic circuit has not changed much since the first version of the VO. The main changes in the transition from the 12V to the 60V version are the omission of the transistor stage and the adjustment of the operating points.
The circuit works with four stages, the last of which is a cathode follower that is used to transmit the signal even over long distances without a loos of level. The first stage is always on, even in bypass, to avoid too much difference between “on” and “off”. The tone control is more a tone blend, working simply but effectively. The overdrive then takes place in the following two stages, with a small “boost” circuit in between, which is sure to become a popular modification point.
When the boost is off, the C10 reduces the low frequency significantly. When the boost is on, the C10 is bypassed and the signal becomes “fat”. So by changing the capacitors C4 and C10, you can easily adjust the ratio between “boost on” and “boost off”. Just try it.
The rest of the circuit is unspectacular, and finally the output level can be adjusted with a potentiometer. Since the overall gain is still quite high even with a low drive setting, the entire pedal can be used as a booster without necessarily overdriving.
Schematic and Layout (DIN A4, 2 Pages PDF)
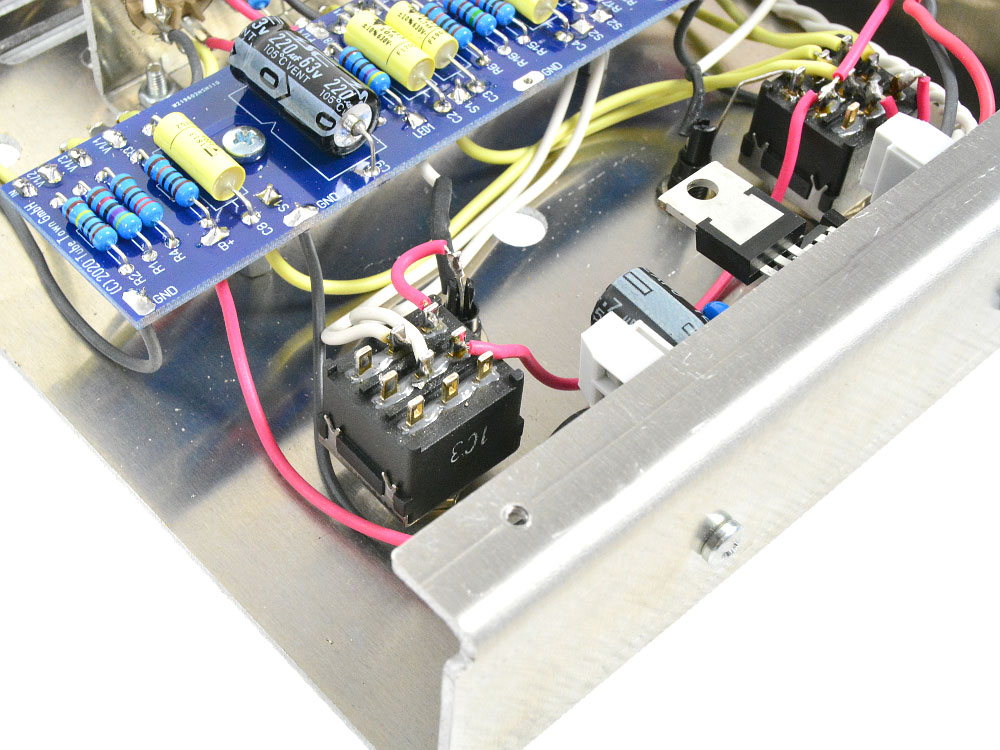
Power supply
As mentioned at the beginning, the Vanilla Overdrive 60 is operated with an anode voltage of 60 V DC, which is generated by a modified VPump. A simple 12 V power supply is needed to operate the VPump, which should supply about 1 A of current. The 12 V DC voltage from the power supply is also used to power the tube heaters. There are no special requirements for the power supply, most switching power supplies should be able to be used without problems.
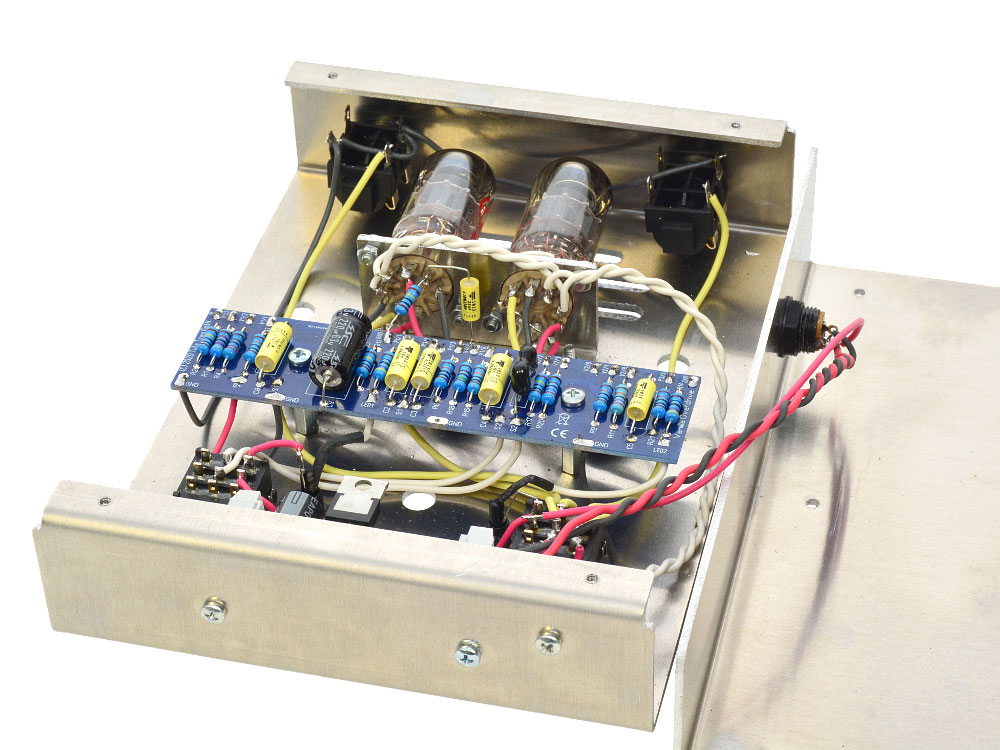
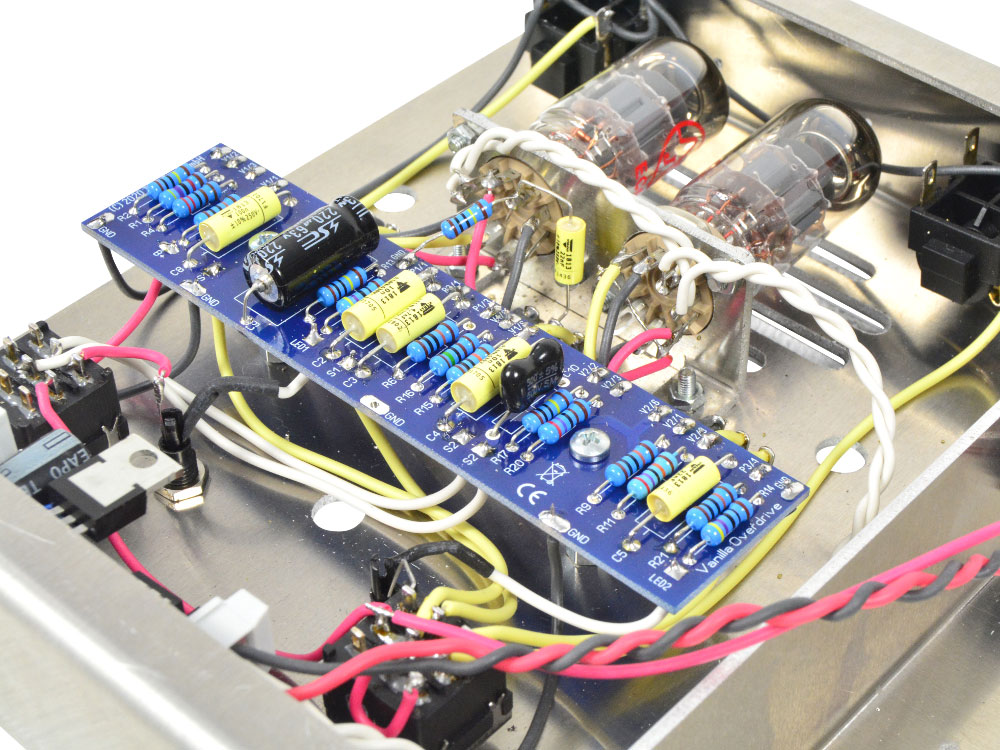
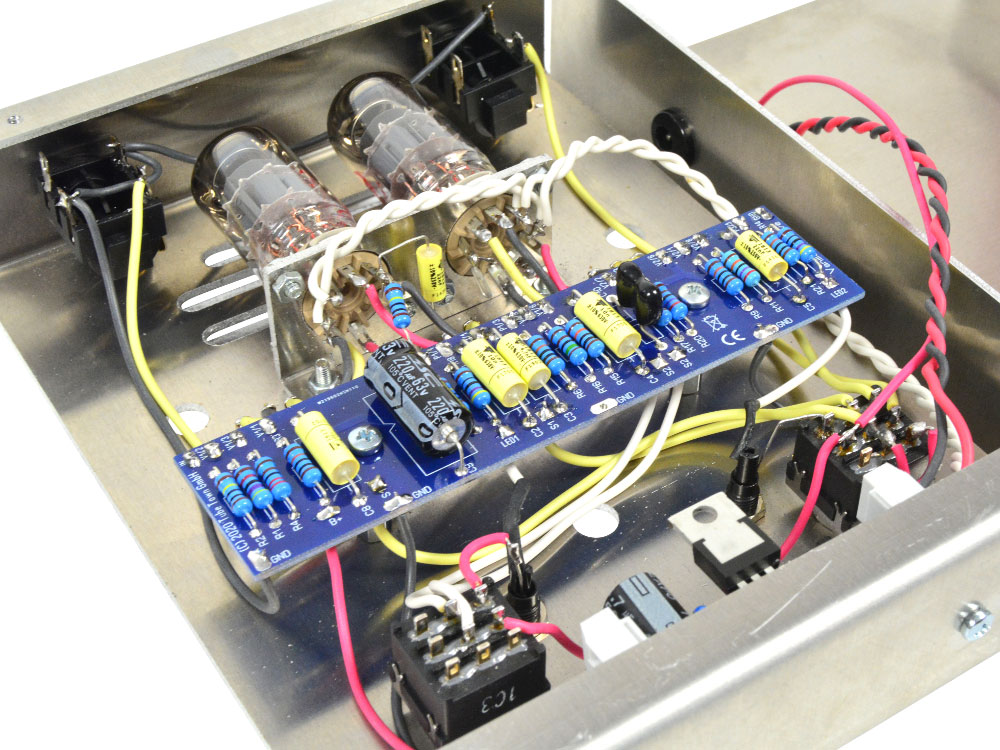
How To Build it
Everything is built on a circuit board in the chassis ch038. The components needed for this project are available in the TT-Shop as a kit.
- Before installation, check components for correct values using a multimeter
- for components with polarity, e.g., electrolytic capacitors, pay attention to the installation direction
do not leave cables too long - use suitable tools, especially soldering irons; soldering guns are usually unsuitable
- pay attention to clean soldering joints
- work carefully and think first, then act
- and if something does not work, do not immediately assume that a component is defective, but try systematically to isolate the fault
Vanilla Inside