TT MidiCntrl Software

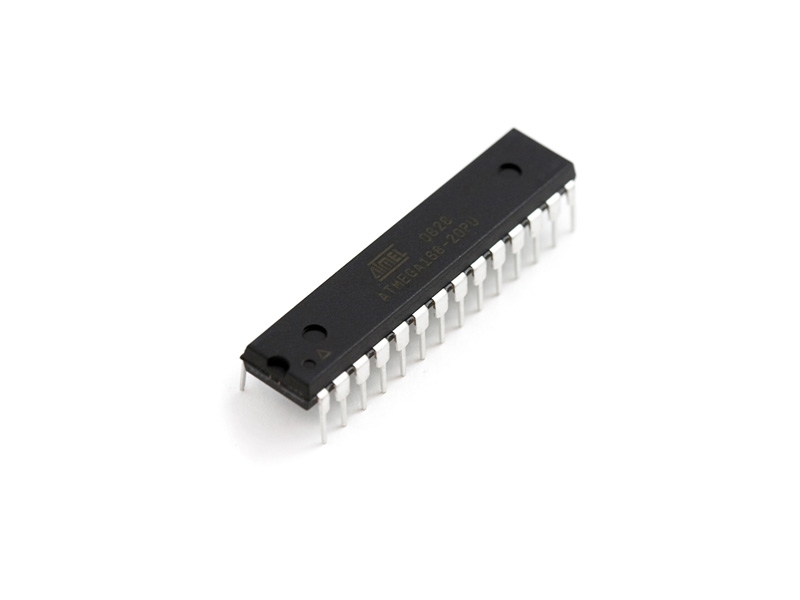
In order to operate the TT MidiCntrl, the built-in microcontroller must be programmed first. You can either do it yourself or use an already fully programmed controller. Currently, the following controller software is available.
TT MidiCntrl – SimpleMidi
The SimpleMidi firmware is a simple footswitch solution, which makes it easy to control the TT MidiSwitcher with the TT MidiCntrl. In this case, the MidiCntrl operates in the basic principle like an analogue channel footswitch or on/off switch, except the communication takes place via MIDI. The MidiCntrl equipped with the SimpleMidi firmware sends “Controller Change” commands, which can be processed by the TT-MidiSwitcher since firmware version 2.0. Each input of the MidiCntrl is assigned a specific CC command, which is sent via MIDI OUT when the corresponding input is activated. Furthermore, the associated output is either set or reset, depending on the use and current state of the output. Therefore, it is possible to give an additional visual control of the current switching state with LEDs.
Construction
Since the SimpleMidi firmware is specially adapted to the MidiSwitcher, the inputs 1 – 4 are provided the same way as with the MidiSwitcher for channel switching and thus only one input or output can be active at a time. If a new channel gets selected, all other channels get reset. The inputs 5 – 8 are provided for subordinate switching tasks like e.g., a boost option and work independently of each other. Input 5, 6, 7 and 8 can be on or off at the same time or even be mixed in any possible combination.
- E1 ⇒ A1 ⇒ sends CC 81 with a value > 64 (meaning: input E1 sets output A1 and sends a controller change to midi channel 1 with a value greater than 64)
- E2 ⇒ A2 ⇒ sends CC 82 with a value > 64
- E3 ⇒ A3 ⇒ sends CC 83 with a value > 64
- E4 ⇒ A4 ⇒ sends CC 84 with a value > 64
The inputs E5 -E8 address the controllers on the Midi-Switcher, which are designed as toggle switches. A value is sent in addition, but it has no effect and is not processed by the Midi-Switcher, the controller only inverts the current state. ON turns OFF and vice versa.
- E5 ⇒ A5 ⇒ sends CC 98 without further value
- E6 ⇒ A6 ⇒ sends CC 98 without further value
- E7 ⇒ A7 ⇒ sends CC 98 without further value
- E8 ⇒ A8 ⇒ sends CC 98 without further value
Example
Consider a 2-channel amplifier with three channel independent additional functions for “boost”, “treble” and “loop on/off”. The switching tasks are controlled by the Midi-Switcher in the amplifier. Therefore, input 1 and 2 are used for channel 1 and 2 (channel switching) as well as input 5, 6 and 7 for the subordinate switching tasks. The controlling should be done by the MidiCntrl. For this purpose a momentary switch must be switched to inputs E1 and E2 as well as E5, E6 and E7 on the MidiCntrl. If you want to have an additional visual check of the switching states, you have to connect the outputs A1, A2 and A5, A6 and A7 with LEDs. The entire circuit can be installed in a suitable floorboard and finally the microcontroller with the SimpleMidi firmware is used, and the supply voltage gets connected. Finished. More effort is not necessary.
Please note: the SimpleMidi firmware always sends on Midi channel 1. The receiving Midi-Switcher also needs to be set to this channel.
Note
The firmware is subject to further development and updates are provided free of charge within a major release, but must be transferred by the user to the microcontroller (Alternatively, a ready-programmed microcontroller with the latest firmware can be purchased in the shop). In order to be able to transfer the firmware to the microcontroller, a “programmer” (keyword “STK 500” in your search engine of trust) is needed as well as a transfer software such as the program PonyProg. Please read about the usage of the software directly on the software's page or on the Internet, unfortunately we can not offer support for this.
Further solutions are in preparation.
